Beading Stitches was for me until few weeks ago relativ new. My first attempts were not the most amazing ones. But, after I finally understood how it really works, ich can stitch perler beads almost automatically ;:.
In this “how to” tutorial I will try to show you step by step how to stitch perler beads. I hope you easily understand the basic idea.
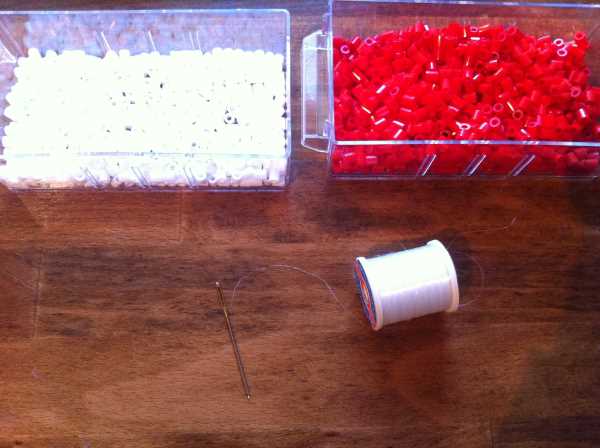
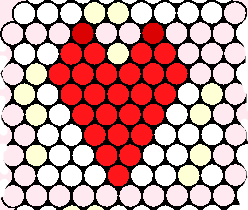
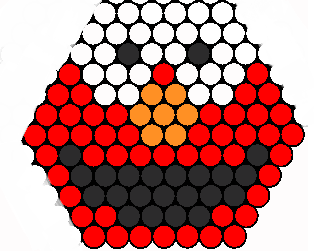
To this aim I employ a large embroidery needle and a nylon thread. As template I have designed a simple hearth with a white background.
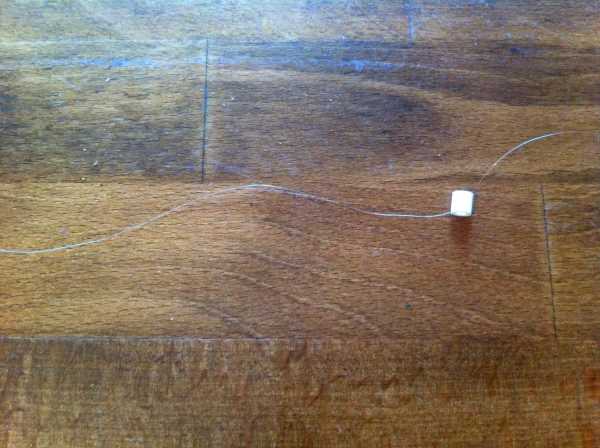
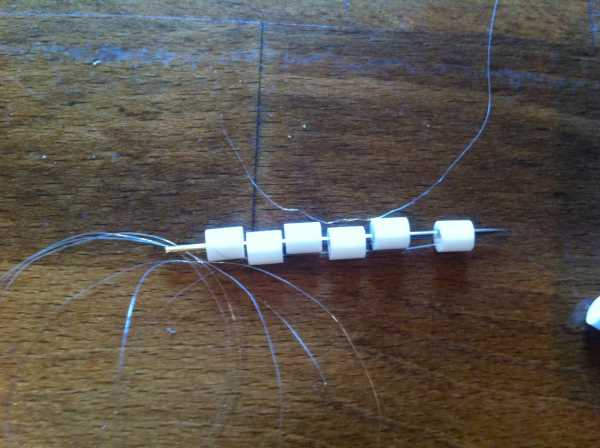
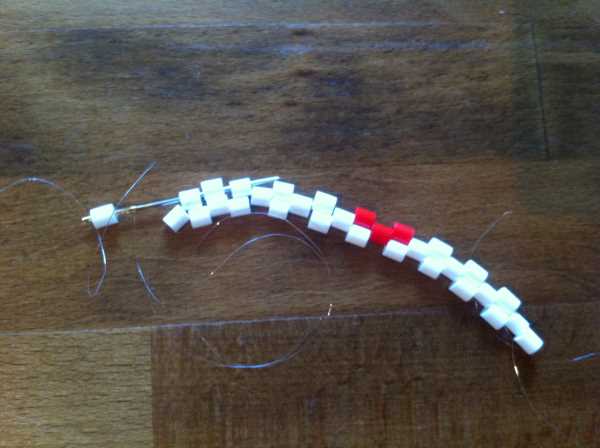
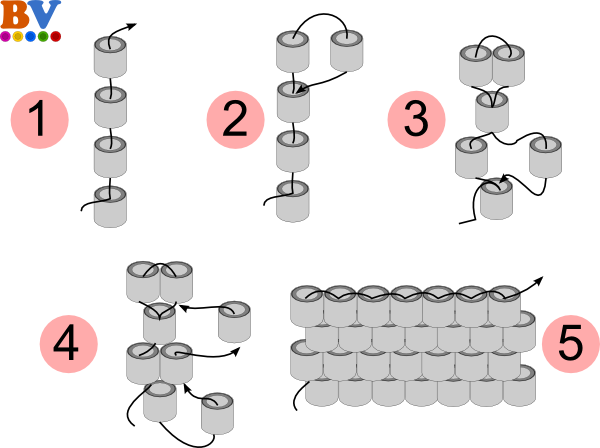
I knot the first bead to one end of the thread. Then, I stitch the first row from left to right (from bottom to top in the scheme shown at the end of this tutorial).
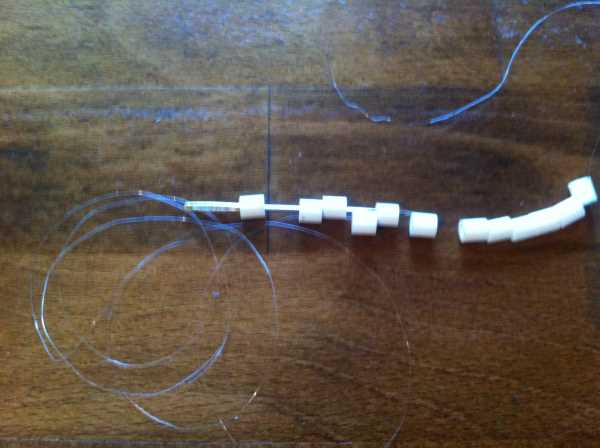
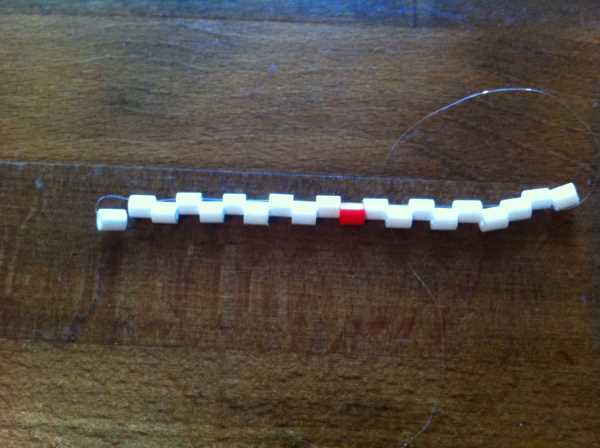
In the second row I stitch every 2nd bead of the 1st row and add a new bead in between, so that they push each other when tightening the thread.
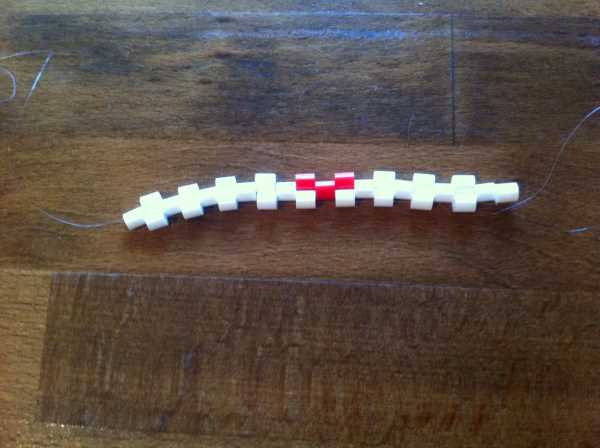
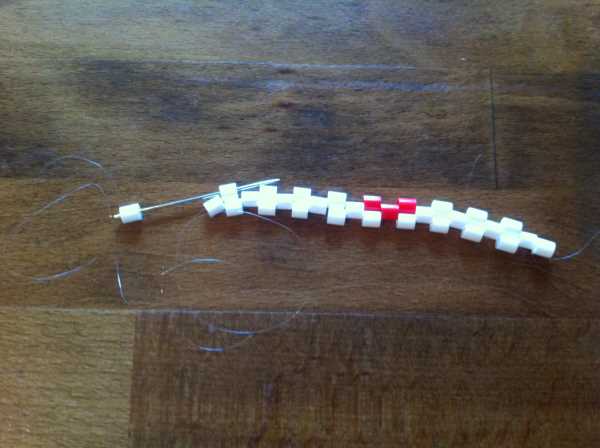
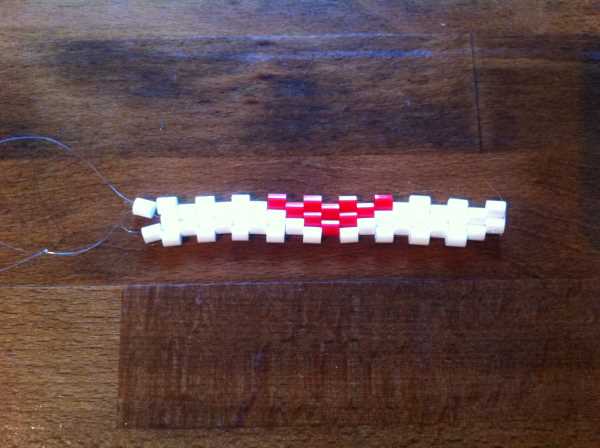
From the 2nd row it is a lot easier because the beads, that are now slightly higher, must be threaded always after a new bead is added. I repeat the process row by row. I must, of course, count the beads in order to pick the right color.
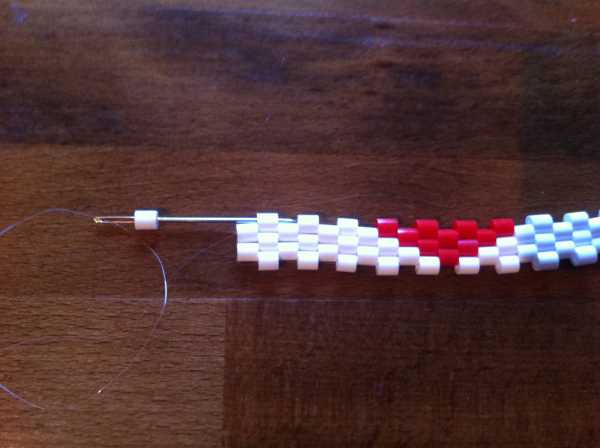
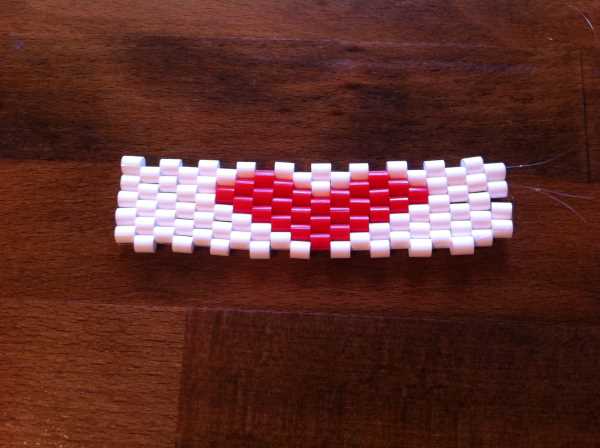
Reached the end I knot the thread tightly.
But you can also work from one side to another. This causes the creation to be drawn according to the length instead to the width.
Here again is shown on the sketch for your reference:

With this technique you can thread bracelets ( which could be closed directly as a circle by using a rubber band) necklaces, window pictures, dor signs and so on. Your creativity is limitless.
Have fun threading.